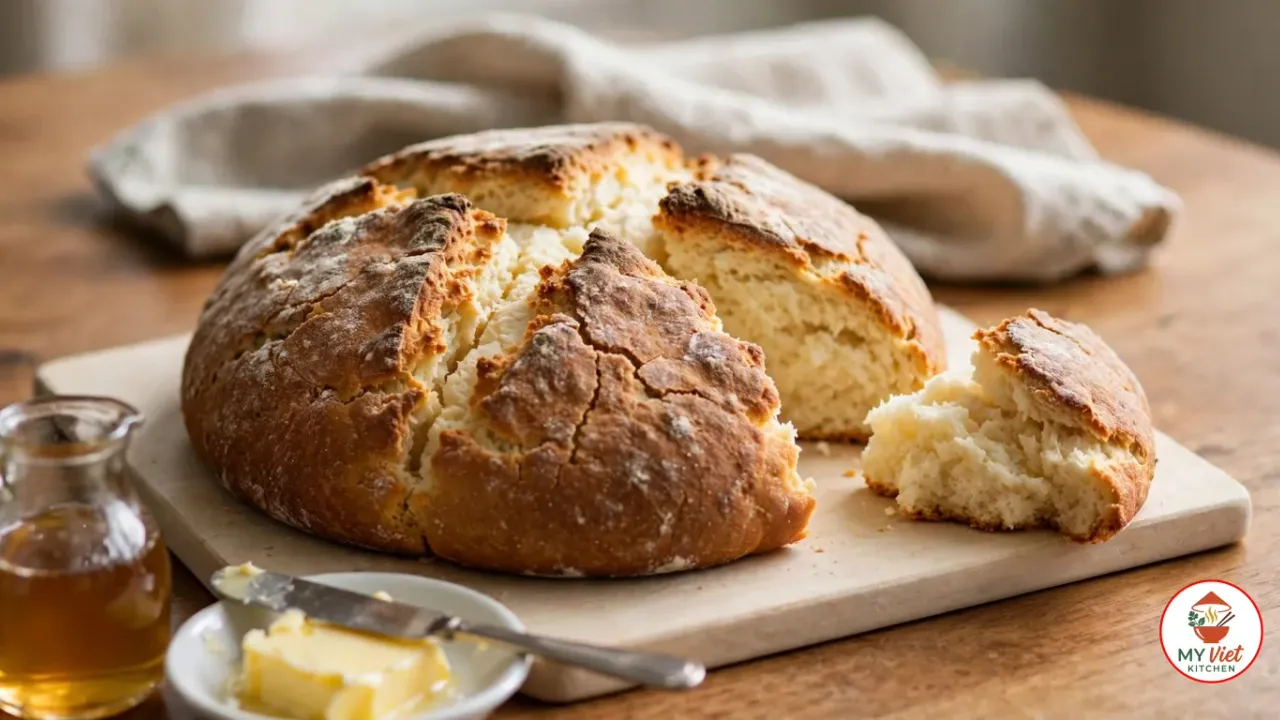
Damper bread is a plain Australian bread made without yeast, shaped into one round, scored with a cross and broken into pieces at the table. This version uses self-raising flour with a little butter rubbed in, mixed with milk and water into a soft dough. It bakes in about 30 minutes in a home oven, and there is a camp oven method below for cooking over coals. Allow 55 minutes from bowl to table, including a 10-minute rest.
Prep Time: 15 minutes | Cook Time: 30 minutes | Total Time: 55 minutes (includes a 10-minute rest) | Servings: 8
Difficulty: Easy | Calories: ~250 per serving

Where Does Damper Come From?
The Australian National Dictionary Centre defines damper as a simple bread, traditionally unleavened and baked in the ashes of an outdoor fire. The name is a specific use of the British word damper, something that takes the edge off the appetite. It was probably also shaped by damp down: to bank a fire with ash or small coal so it burns low without going out. The first record is from 1825 (Australian National Dictionary Centre).
Damper was the most common bread of bush workers in the 1800s. To earn your damper came to mean being worth your pay (Australian National Dictionary Centre). The earliest detailed method found by Sydney Living Museums’ food blog ran in the Hobart Town Courier in 1829. Flour, water, salt and a little leaven saved from the last batch were kneaded hard and left for an hour or two. Then the dough was buried in hot ashes and baked for about an hour (Sydney Living Museums).
Most accounts describe damper as made without yeast or added raising agents. The same article notes that dough left overnight could rise on its own, and that baking soda was on sale from at least the 1820s, so some hearth bakers may have used it (Sydney Living Museums). Self-raising flour, the shortcut used here, was patented by the baker Henry Jones in 1845 (Wikipedia).
Damper is a different bread from the seed breads of Aboriginal Australians. Dr Stan Florek of the Australian Museum describes bread-cakes made in Central Australia from ground native millet, spinifex and wattle seed, baked in the ashes or on the hot charcoal of a campfire. He calls it bush bread, like damper in method but closer to pita in form. Grinding the seeds on a stone slab took about two hours for half a kilogram of flour, and grinding stones at Cuddie Springs are dated to about 30,000 years (Australian Museum).
Sydney Living Museums notes great debate over whether settlers took up ash baking from Aboriginal cooks. It also points out that many other cultures make similar hearth breads (Sydney Living Museums).
How Wet Should Damper Dough Be?
Soft and a little sticky, like scone dough. The Australian Women’s Weekly stirs in milk and enough water to form a sticky dough, then kneads it on a floured surface only until just smooth (Women’s Weekly Food). For 3 cups (450 g) of flour, that takes about 1 1/4 cups (305 ml) of milk and water, and sometimes a few spoonfuls more. Flours and cup measures vary, so go by feel. No dry flour should be left in the bowl, and the dough should stick lightly to a clean finger.
A stiff, dry dough makes damper bread tight and crumbly, with a pale, split crust. A soft one rises higher and tears into fluffy pieces. Flour your hands and the bench instead of working more flour into the dough.
Handle it briefly. Mick Viller, who writes Snowys’ camp oven guide, warns that working damper too much pushes the air out and gives a very dense result (Snowys). Five or six folds are enough to smooth the outside.
Check the label on your flour, too. British self-raising flour has no added salt, but American self-rising flour does, so with an American brand, cut the teaspoon of salt to a pinch (Nigella Lawson).
How Do You Cook Damper on a Campfire?
Cooking damper bread on a campfire works best in a camp oven, a cast-iron pot with a flat lid, over coals rather than flames. The Women’s Weekly recipe sets a trivet in the base and raises the pot about 5 cm over hot coals to heat. Coals piled on the lid give most of the heat from above, so the base doesn’t burn. The damper bakes for 20 minutes, the lid gets fresh coals, and it bakes about 15 minutes more, until golden and hollow when tapped (Women’s Weekly Food).
Viller sets the pot on a loose half-shovel of coals and heaps a full shovel on the lid. He checks a two-cup damper after 15 minutes, then every 10 minutes, and expects 20 to 25 minutes in all. He also warns never to put the damper straight into the fire, where it burns easily (Snowys). A long knife pushed into the center should come out clean.
The Lees Cooking recipe that goes with the video above mixes its damper with milk alone. It bakes at 200°C (180°C fan) for about 30 minutes, or in a camp oven with twice as many coals on the lid as underneath (Lees Cooking). This dough works for either method without changes.
Ingredients for Damper Bread
For the Damper:
- 3 cups (450 g) self-raising flour, plus extra for dusting
- 1 teaspoon salt
- 2 teaspoons sugar (optional)
- 3 tablespoons (40 g) cold butter, cut into small cubes
- 3/4 cup (180 ml) milk, plus 1 tablespoon for brushing
- 1/2 to 3/4 cup (125 to 180 ml) water
Step-by-Step Instructions
Step 1: Rub the Butter into the Flour
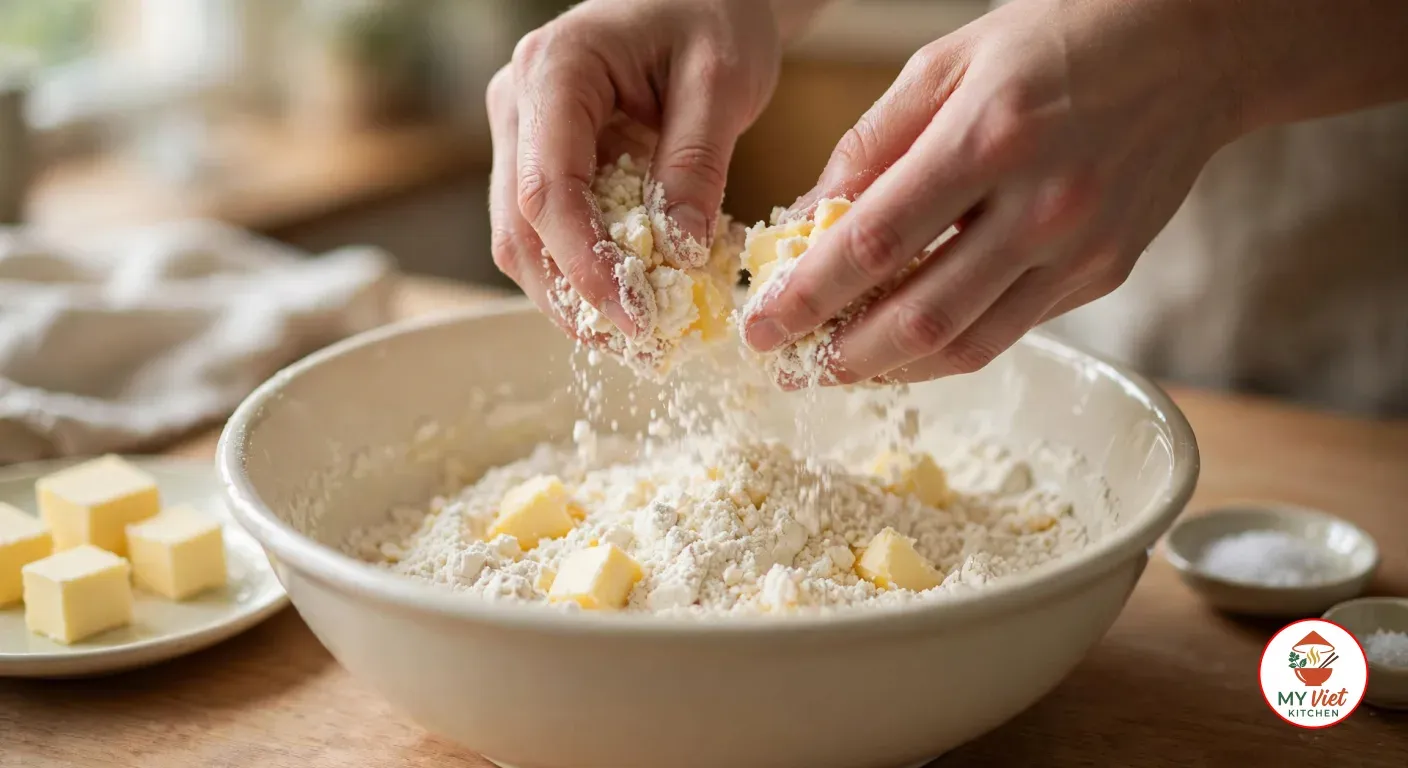
1Set the oven to 400°F (200°C), or 350°F (180°C) for a fan oven, and cover a flat tray with a sheet of baking paper. Whisk the flour, salt and sugar together in a large bowl so the salt is spread evenly. Drop in the cold butter cubes. Lift a little flour and butter at a time and rub it between your thumbs and fingertips, letting it fall back into the bowl. After 2 to 3 minutes the mixture should look like coarse breadcrumbs, with no lumps bigger than a small pea. Work quickly so the butter stays cold.
Step 2: Mix a Soft Dough
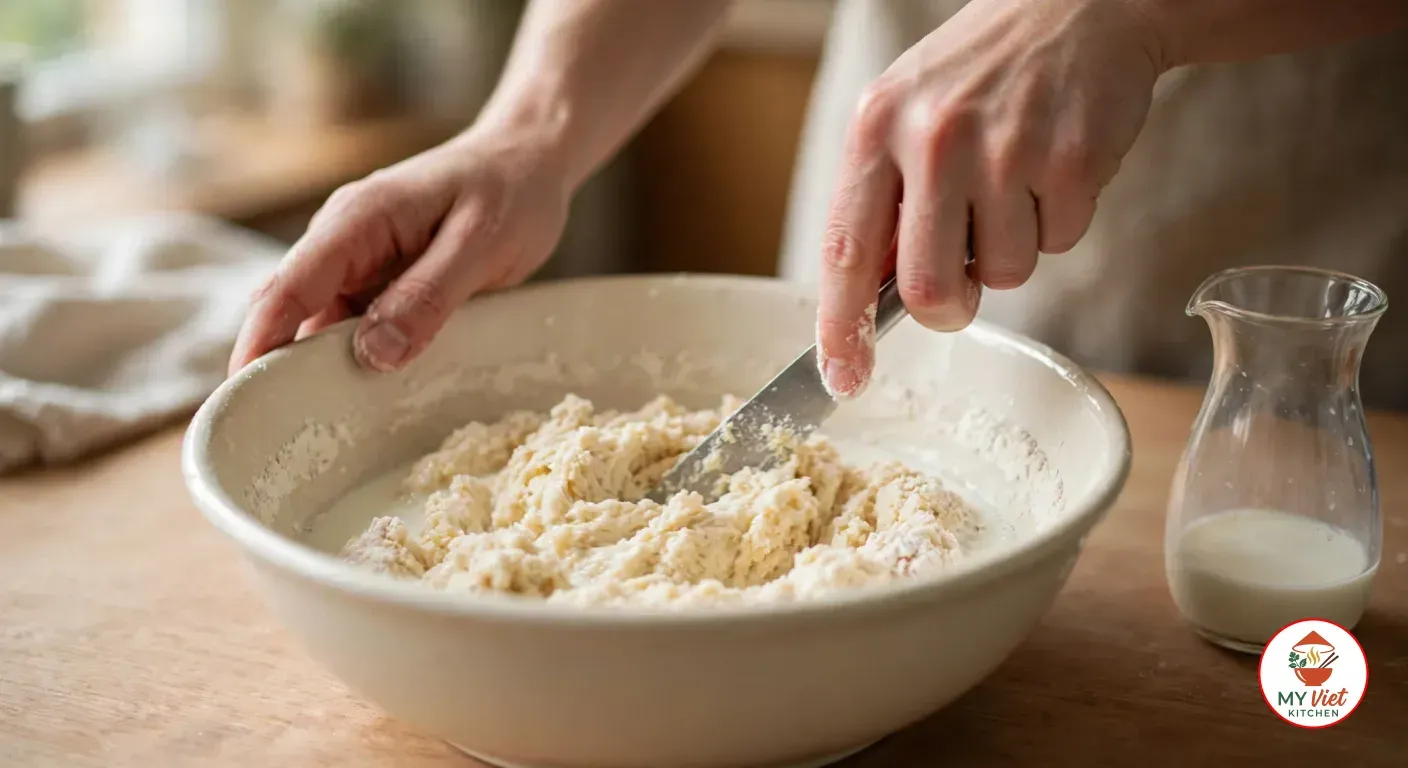
2Hollow out the middle of the crumbs and add the 3/4 cup of milk along with 1/2 cup (125 ml) of the water. Mix with a table knife, cutting down through the flour rather than stirring round, so the liquid spreads without the dough being worked. Within a minute it should come together as a soft, sticky dough. If dry flour is still sitting at the bottom of the bowl, add more water 1 tablespoon at a time, up to 1/4 cup (60 ml) more. Stop as soon as no dry patches remain.
Step 3: Shape and Score the Loaf
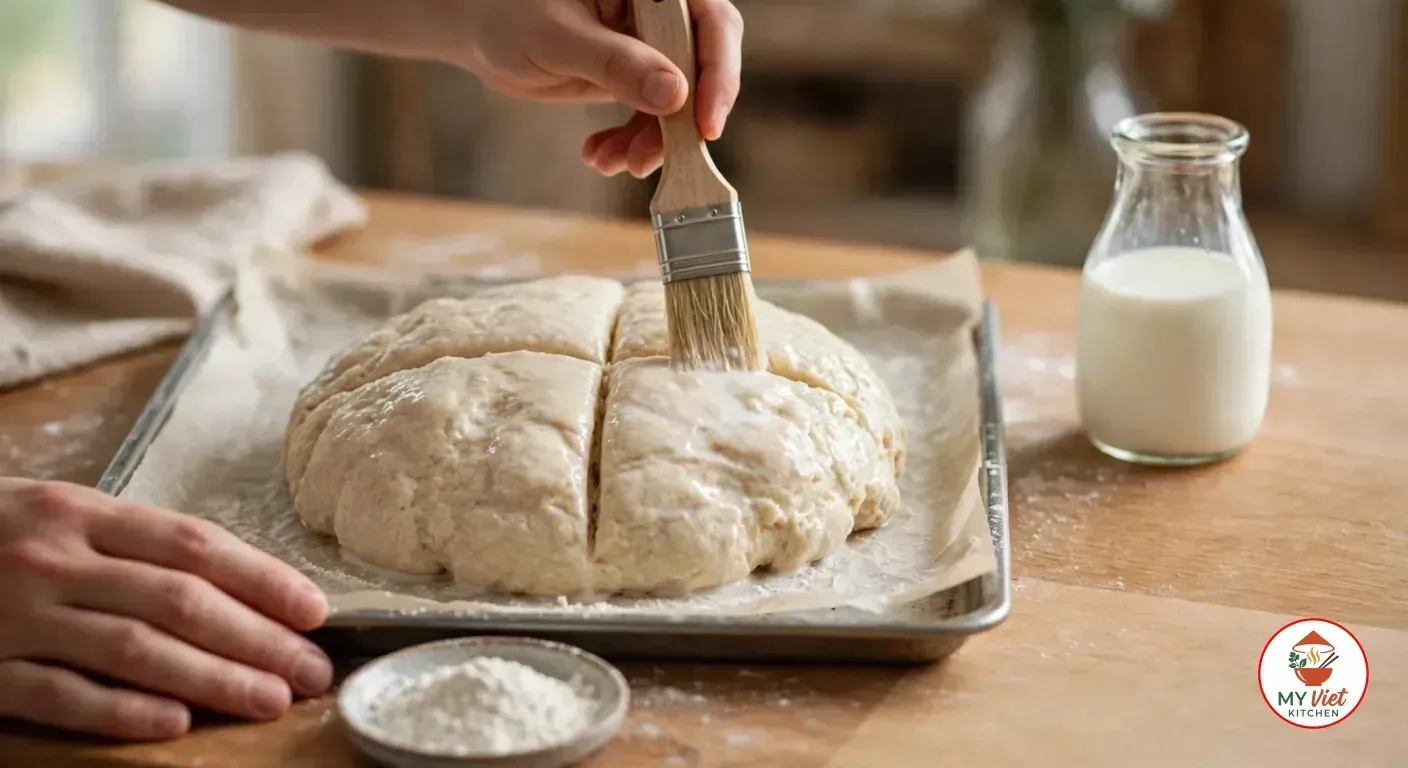
3Dust the bench with flour and tip the dough out. Flour your hands and knead it 5 or 6 times, folding and turning it, just until it holds together with a fairly smooth outside. Pat it into a round about 7 inches (18 cm) across and 1 1/2 to 2 inches (4 to 5 cm) high, and set it on the tray. With a sharp knife, cut a cross about 1/2 inch (1 cm) deep across the top. Brush the top with 1 tablespoon of milk and dust it lightly with flour.
Step 4: Bake Until It Sounds Hollow
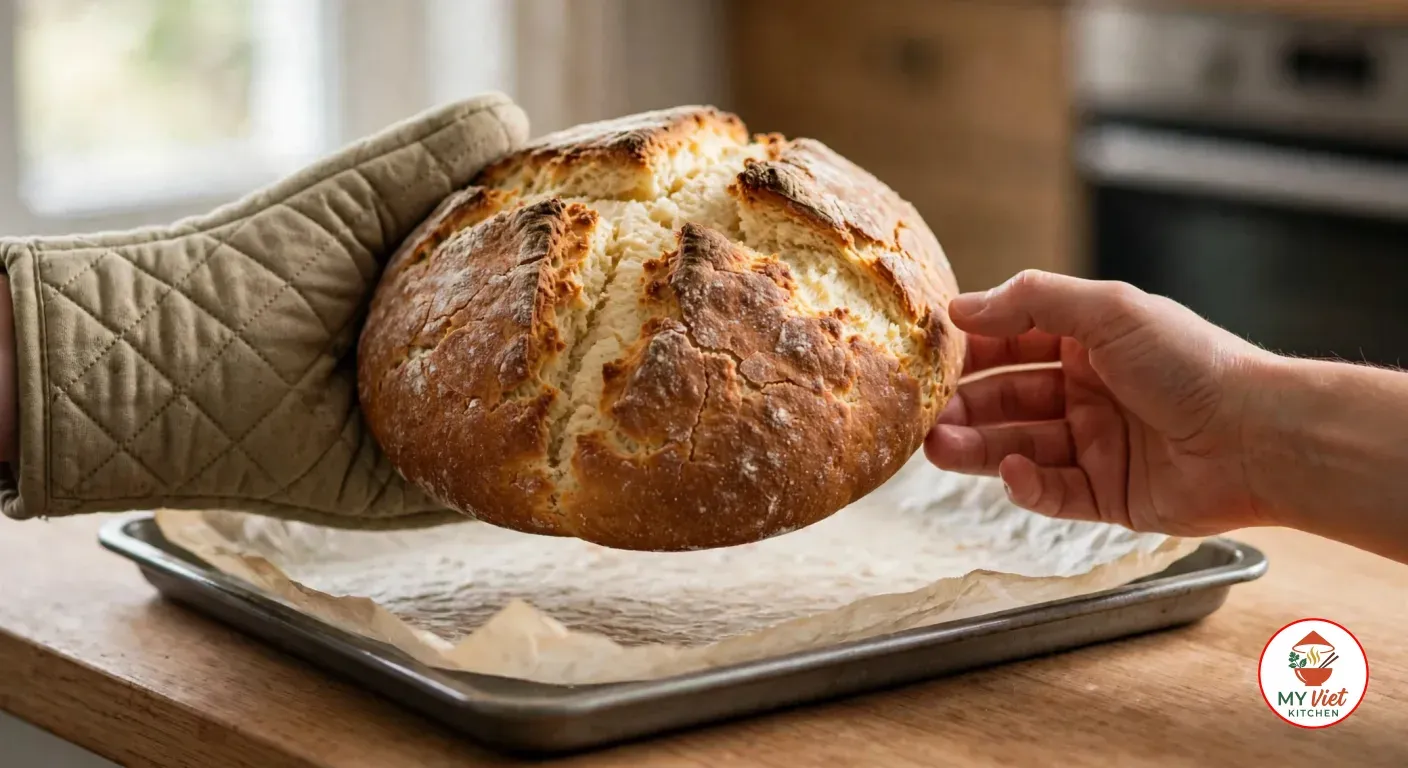
4Give the damper 25 to 30 minutes on the middle shelf. It is ready to test once the crust has turned golden brown and the cross has opened into four craggy quarters. Lift the loaf with an oven mitt and knock on the base with a knuckle. A cooked damper sounds hollow, like knocking on a door. If it sounds dull and heavy, bake it for 5 minutes more and test again. A skewer slid into the middle should come out with no wet crumbs on it.
Step 5: Rest and Serve
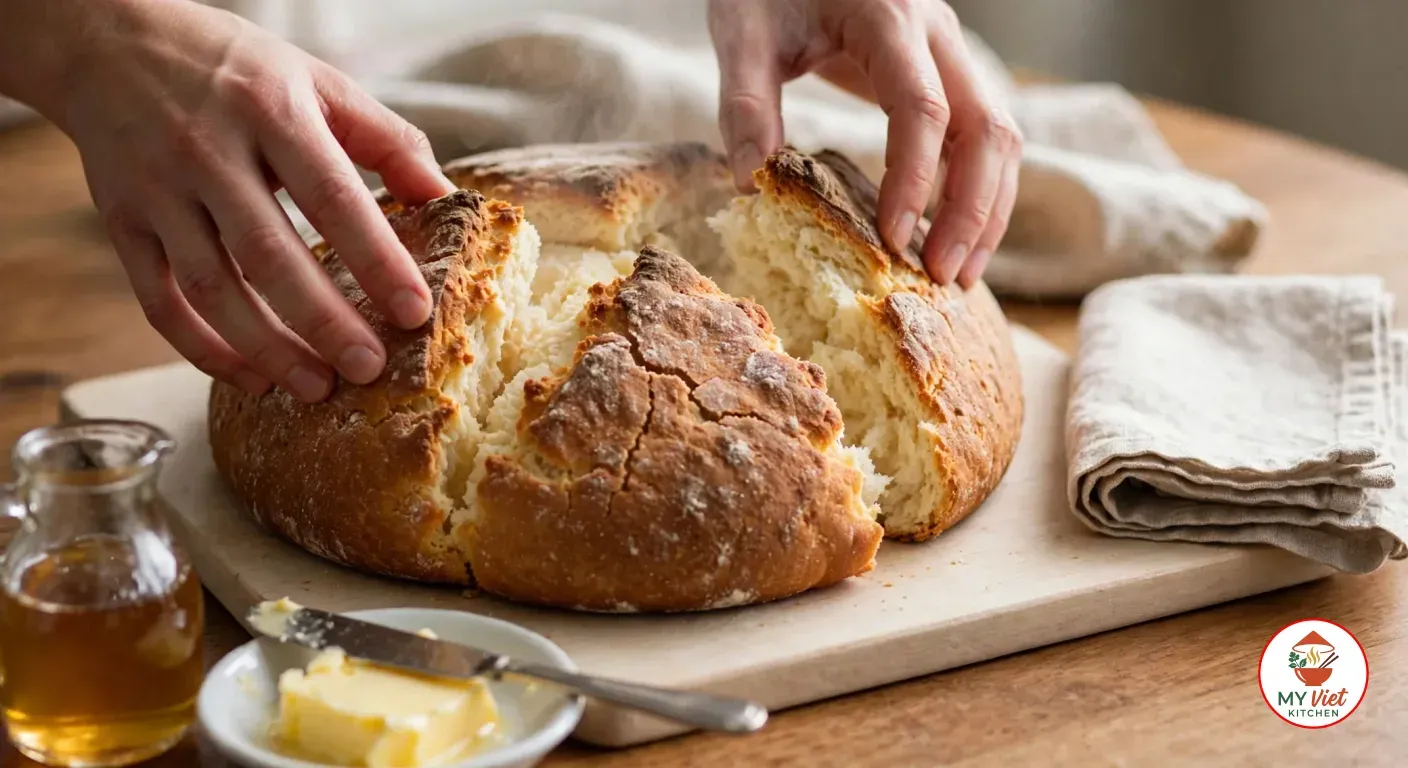
5Wrap the hot damper in a clean tea towel and leave it for 10 minutes. The towel holds in the steam and keeps the crust tender. For a crisper crust, cool it on a wire rack instead. Break the loaf apart along the cross rather than slicing it, and serve it warm with butter and golden syrup.
Frequently Asked Questions
Can I make damper with plain flour?
Yes. Add 2 teaspoons of baking powder to every cup (150 g) of plain flour, which comes to 2 tablespoons for this recipe. Nigella Lawson’s site gives that ratio for replacing self-raising flour and adds no baking soda (Nigella Lawson). Whisk the powder through the flour well before you rub in the butter, so the loaf rises evenly.
Why is my damper doughy in the middle?
It came out of the oven too soon, or the round was too thick for the baking time. Knock on the base before you take it out. A dull thud means it needs 5 more minutes. A round taller than 2 inches (5 cm) needs longer, so pat it flatter next time. If your loaves often come out pale and heavy, check the oven with an oven thermometer.
Is damper the same as soda bread?
No, though neither uses yeast. Soda bread rises because baking soda reacts with the lactic acid in buttermilk (Wikipedia). This damper gets its lift from the baking powder already mixed into self-raising flour, with plain milk and water as the liquid. Early bush damper usually had no raising agent at all (Sydney Living Museums).
How long does damper stay fresh?
It is best on the day it is baked, and Snowys’ camp oven guide notes that damper turns stale quite quickly (Snowys). Keep leftovers wrapped in a tea towel or a paper bag overnight. The next day, toast thick slices, as Lees Cooking suggests for its damper (Lees Cooking).
Sources
- Australian words: D, Australian National Dictionary Centre, Australian National University
- Our daily bread, The Cook and the Curator, Sydney Living Museums, June 2015
- Food Culture: Aboriginal Bread, Australian Museum, August 2014
- How to bake basic damper while camping, Women’s Weekly Food, May 2022
- How to Cook Damper in a Camp Oven, Snowys, May 2026
- Self-Rising Flour Substitution, Nigella Lawson, October 2011
- Traditional Damper Recipe, Lees Cooking
- Flour, Wikipedia
- Soda bread, Wikipedia